BatchForce Metadata is a desktop app that generates titles, descriptions and keywords for your stock images and videos in batch. This guide walks you through downloading, installing and activating the app for the first time.
Note: Supported on Windows 10 and Windows 11. Mac is not supported yet. About 504 MB of free disk space is required.
1. Download the installer
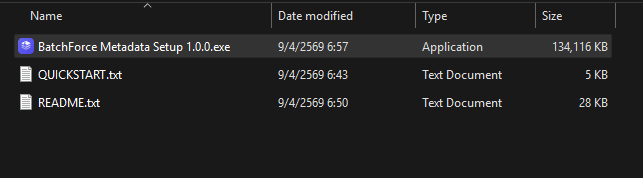
After purchasing a license or starting a free trial, you will receive a download link with three files: the installer (BatchForce Metadata Setup 1.0.0.exe, around 131 MB), QUICKSTART.txt with a short summary of these steps, and README.txt with release notes.
Files you will see after downloading
2. Install the app
Double-click BatchForce Metadata Setup 1.0.0.exe to start the installer. The whole process takes about 1-2 minutes.
Warning: Windows SmartScreen may show a blue "Windows protected your PC" popup. This is normal for newly released apps. Click More info, then Run anyway to continue. The installer is code-signed and safe.
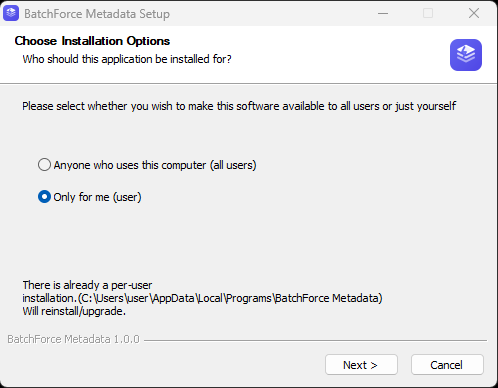
Pick "Only for me" (recommended) so you do not need administrator rights, or "Anyone who uses this computer" if multiple Windows users share the machine.
Step 1 — Choose installation options
2
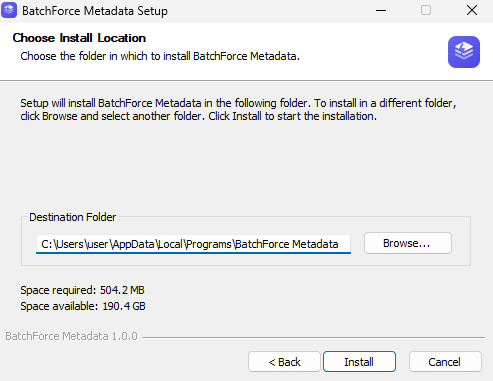
Choose install location
The default location C:\Users\<your-name>\AppData\Local\Programs\BatchForce Metadata works for most people. You can pick a different folder if you prefer. About 504 MB of disk space is needed.
Step 2 — Choose install location
3
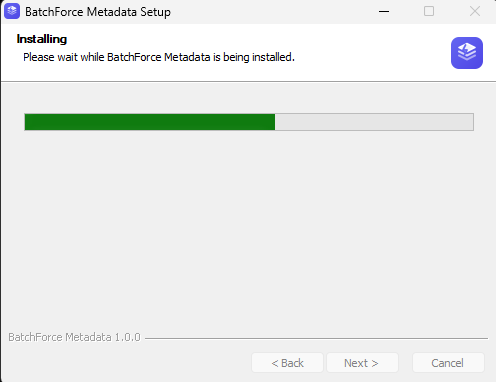
Wait for the installer to finish
The progress bar takes about 30 seconds. Do not close the window.
Step 3 — Installation in progress
4
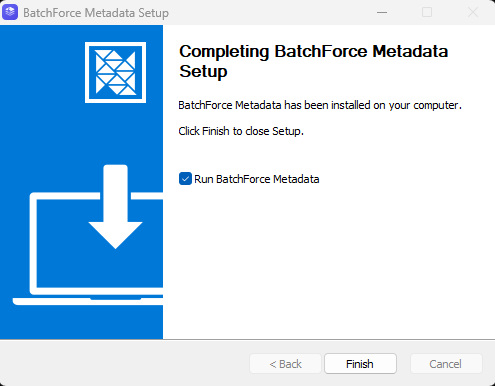
Finish setup
When the installer says "Completing BatchForce Metadata Setup", leave the "Run BatchForce Metadata" checkbox ticked and click Finish.
Step 4 — Finish and launch
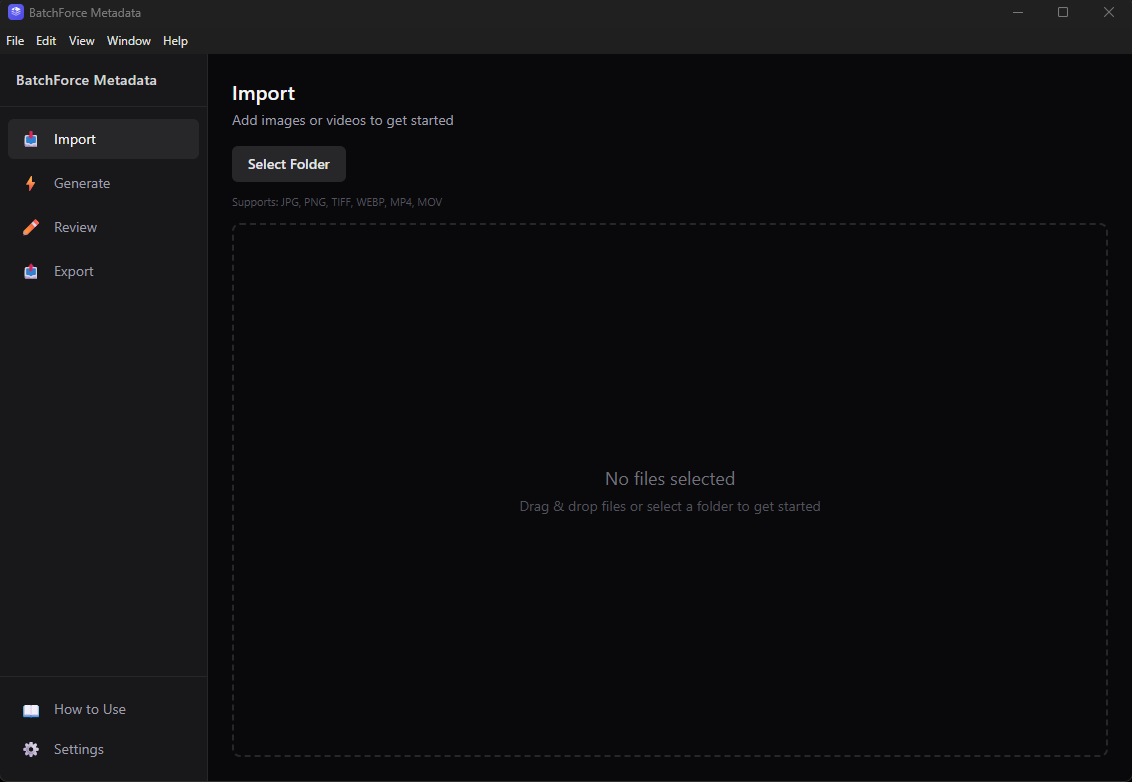
3. First launch
The app opens directly to the Import page — there is no welcome screen. You will see four tabs in the sidebar (Import, Generate, Review, Export) and How to Use plus Settings at the bottom-left.
First launch lands on the Import tab
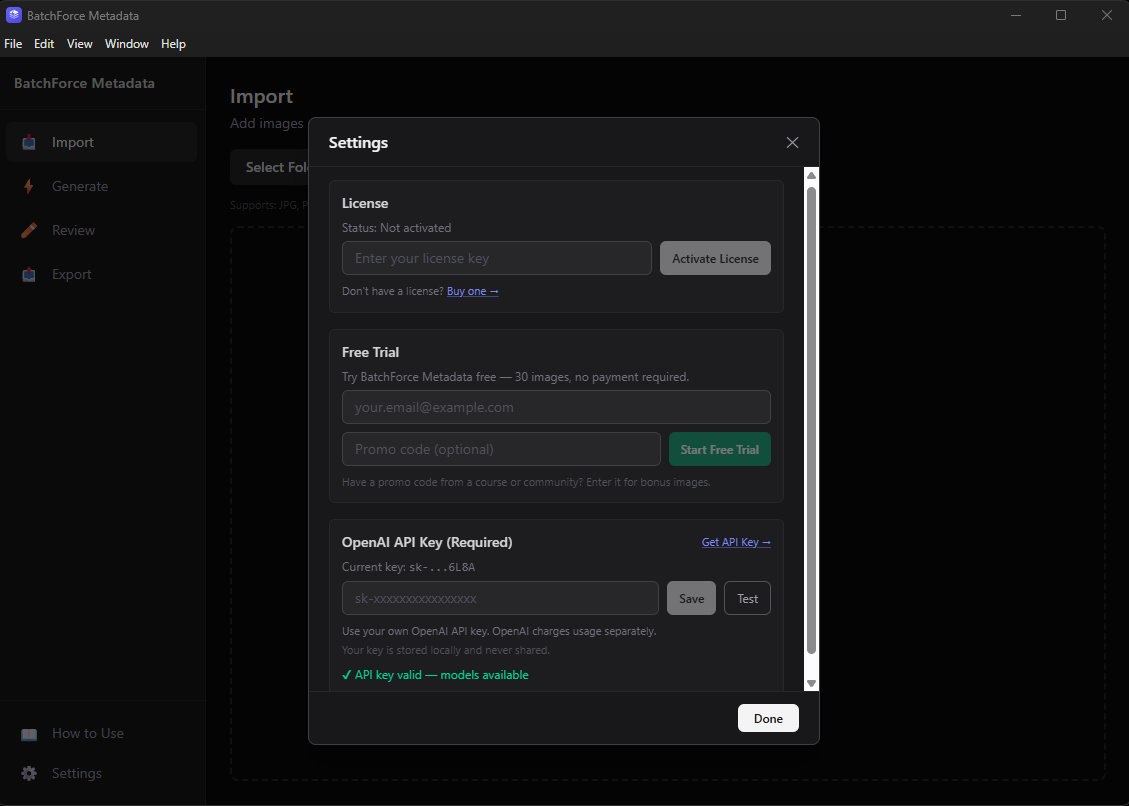
4. Open Settings
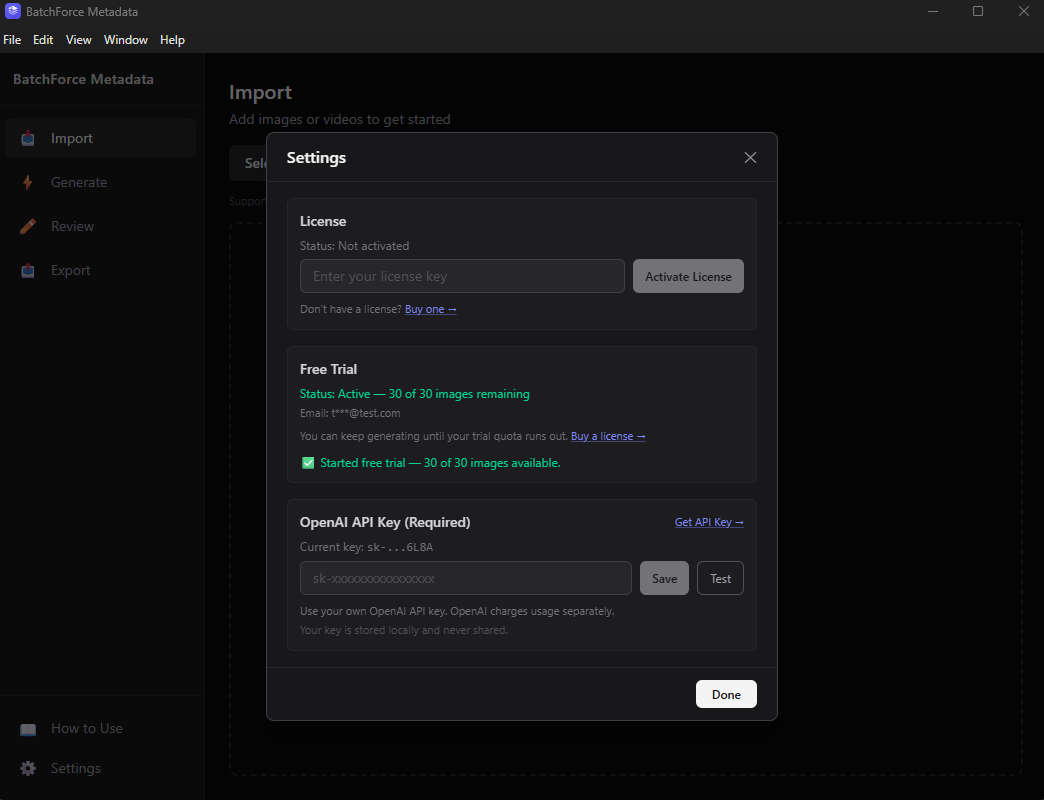
Before you can generate metadata, you need to set up either a license or a free trial, plus your OpenAI API key. Click the Settings gear icon in the bottom-left of the sidebar to open the Settings dialog.
Settings dialog before activation — three sections to fill in
Tip: You can either activate a paid license OR start a free trial — pick whichever applies to you. Both paths work the same after this point. Skip to step 5A for license, or step 5B for free trial.
5A. Activate your license
If you bought a license, follow these steps. If you want to try the free trial first, skip to step 5B below.
1
Paste your license key
Paste the license key you received in your purchase confirmation email into the License key field in the License section.
2
Click Activate License
The app will contact our server to validate the key and bind it to this device. Each license is valid for 1 device.
3
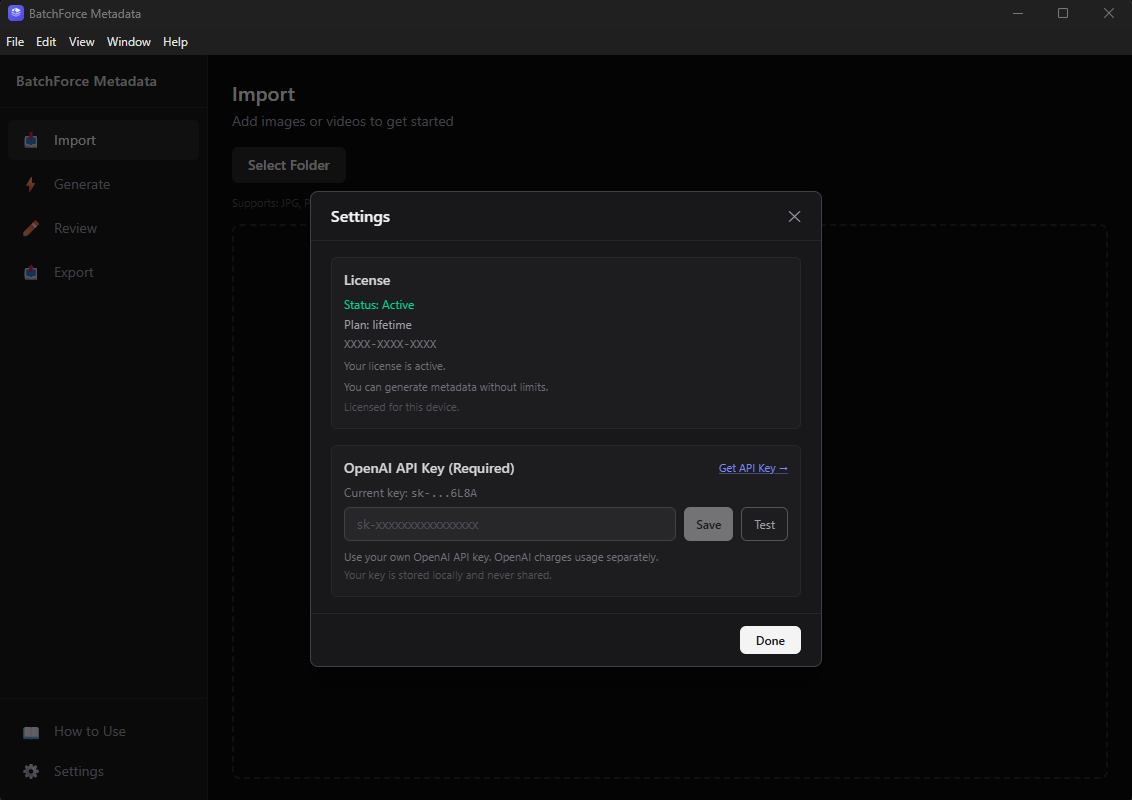
Confirm activation succeeded
When activation succeeds the License section will show "Status: Active", your plan name (for example: lifetime), and "Licensed for this device." The Free Trial section disappears automatically.
License activated successfully
5B. Start a free trial
If you want to try the app before buying, the free trial gives you 30 generations with no credit card required.
1
Enter your email
Type your email into the Free Trial section. We use this to track your trial — no signup needed.
2
(Optional) Enter a promo code
If you have a promo code from a YouTube video, course, or partner, paste it here. Some codes give you bonus images on top of the default 30.
3
Click Start Free Trial
The trial activates immediately. The Free Trial section will switch to "Status: Active — 30 of 30 images remaining" and your email will be shown (masked for privacy).
Trial started successfully
6. Set up your OpenAI API key
BatchForce Metadata uses your own OpenAI account to generate the metadata, so you only pay for the API usage you actually consume. Your API key is stored locally on your machine and never sent to BatchForce servers.
1
Get an OpenAI API key
Click "Get API Key" in the Settings dialog — it opens the OpenAI dashboard. Sign in or create a free account, then create a new secret key.
2
Paste and save
Paste the key into the OpenAI API Key field in Settings, then click Save.
3
Test the connection
Click Test to make sure the key works. You should see a green confirmation.
7. You are ready to generate
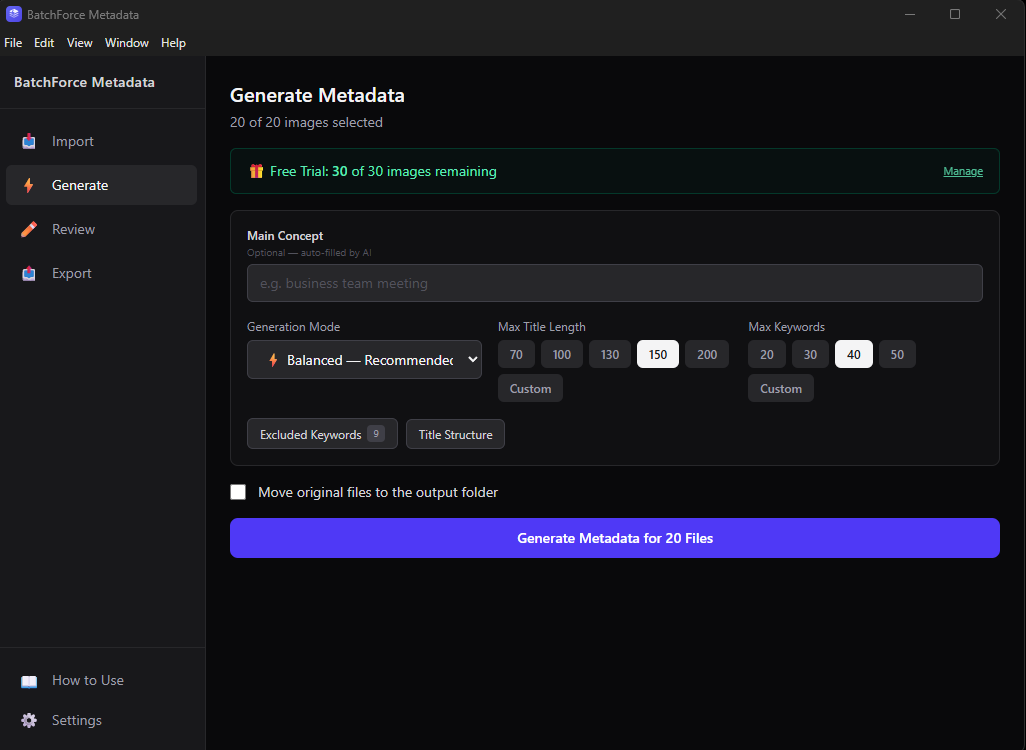
Setup is complete. You can now go to the Generate tab and start processing files. If you are on the free trial you will see a green counter at the top showing how many images you have left.
Trial users see a counter showing remaining images
Troubleshooting
"Windows protected your PC" popup
Click More info, then Run anyway. This warning shows up for newly released apps that Microsoft has not seen many downloads of yet. Our installer is code-signed and verified safe.
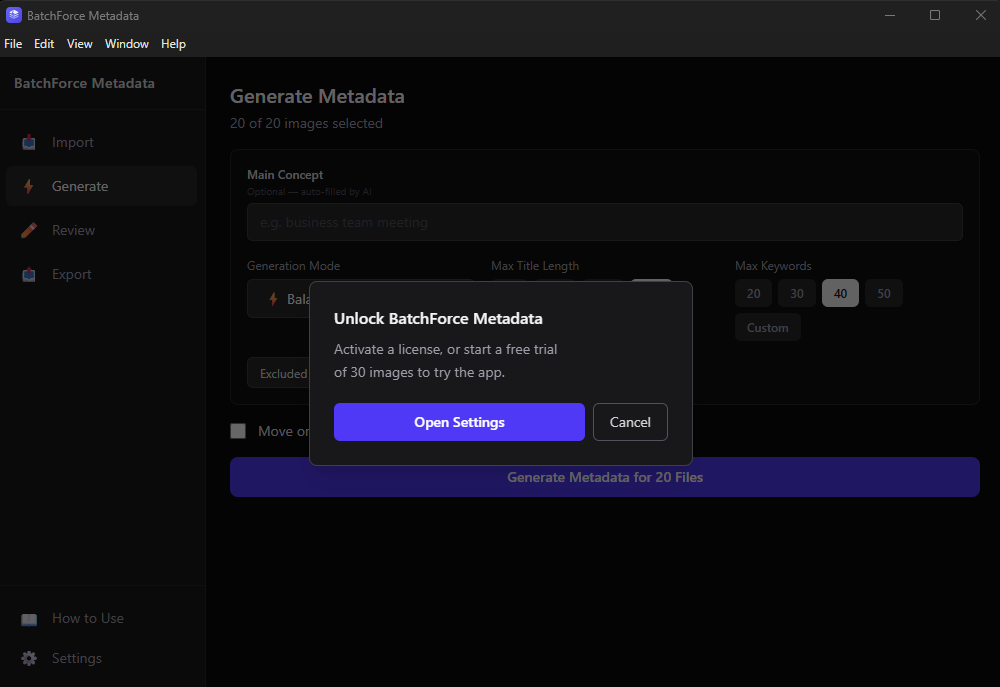
"Unlock BatchForce Metadata" popup when I try to generate
This means you have not set up a license or trial yet. Click Open Settings in the popup, then either activate your license (step 5A) or start a free trial (step 5B).
You will see this if you try to generate before setting up a license or trial
License key is invalid
Double-check the key for typos. License keys use the format XXXX-XXXX-XXXX-XXXX. If it still does not work, the key may already be bound to a different machine — contact support and we will reset the activation for you.
Trial says "insufficient quota"
You have used all 30 free generations. Buy a license to continue using the app — your existing files and settings will be preserved.
OpenAI API key test fails
Make sure you copied the whole key (it usually starts with sk-) and that your OpenAI account has credit available. New OpenAI accounts get free credit but it expires after a few months.